Homelab: Stacking Them High
I run my homelab on a bunch of used HP EliteDesk thin-clients. They have a nice form-factor, don’t use too much power and run relatively quietly. They even stack pretty well as-is, and color-match the NAS.
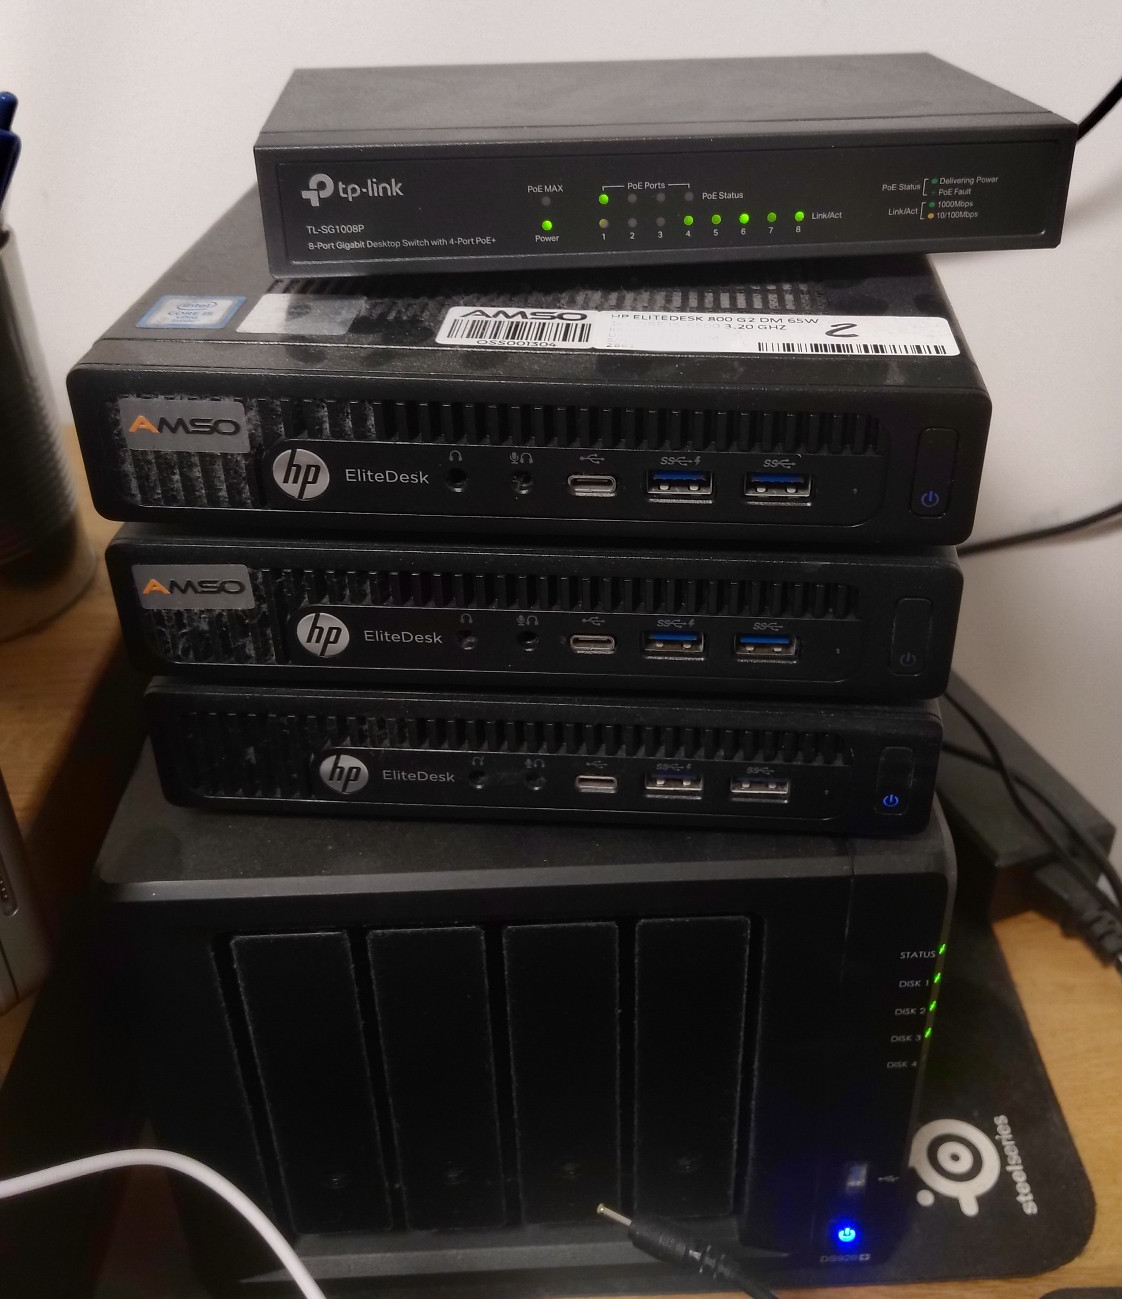
Homelab v1, don’t mind the dust
The problem is, the higher wattage versions get pretty toasty without a gap between them. On top of that, removing one from the bottom requires passing a medium dexterity test.
Mini-rack
I decided to design and 3D print some shelves/rails so the PCs could slide-in while also keeping some gap between them. I used a threaded rod to tie everything together and give borrow strength from real materials.
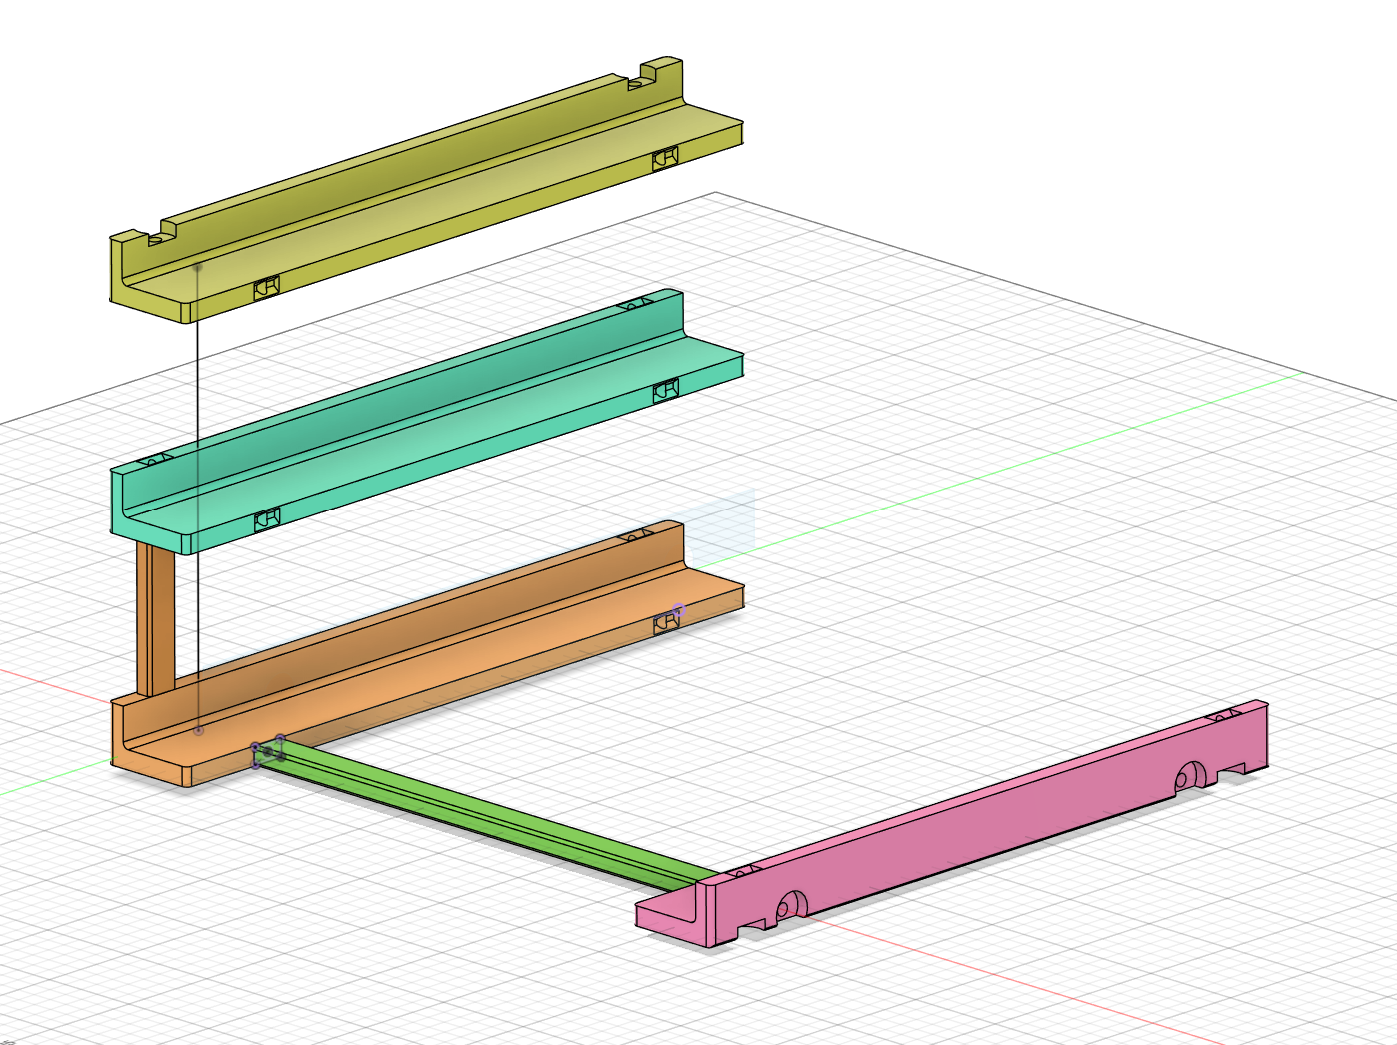
Top, middle and bottom shelves are different to accomodate nuts and bolt
Click for more about the design of the rack itself

Vertical part ends prevent the part from wiggling around and spinning in place.
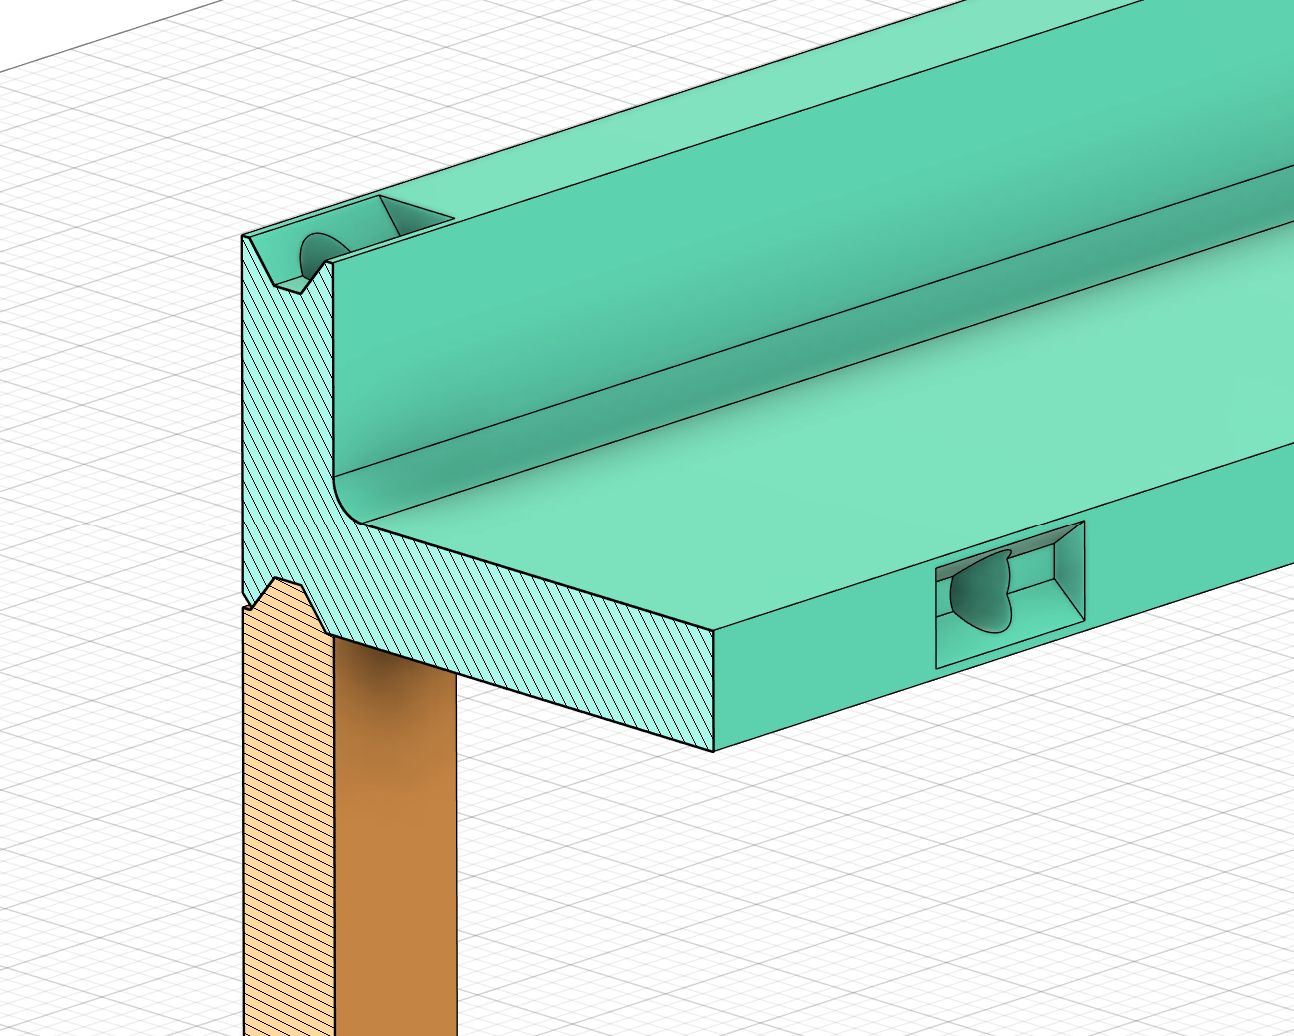
Each one sits tight under the pressure from the threaded rod
I also added spacing for the socket to fit
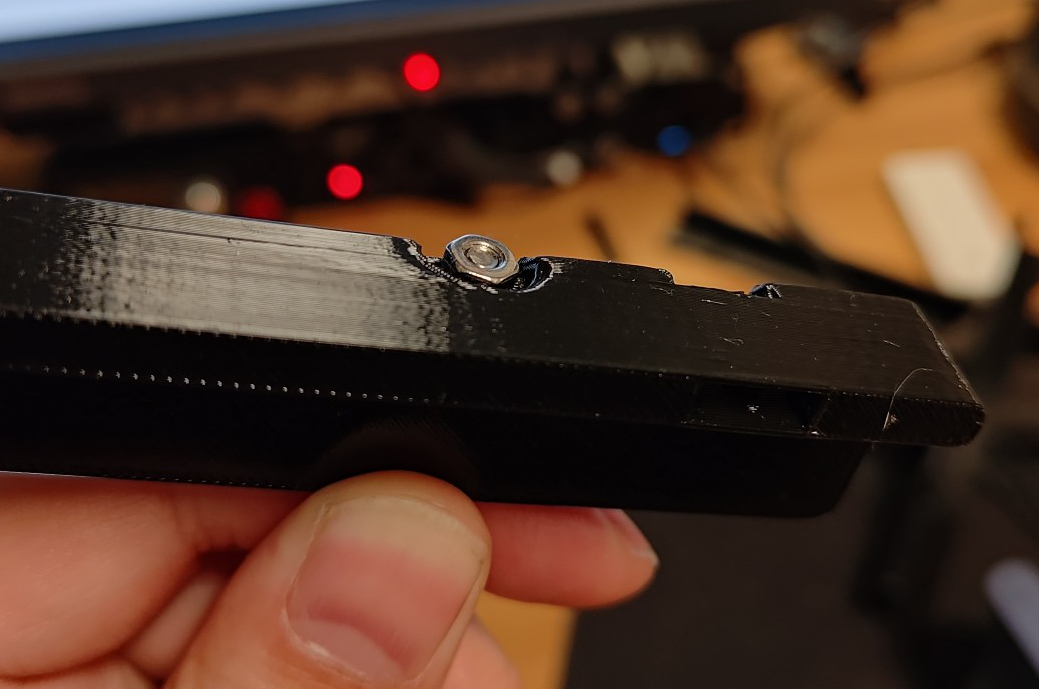
Small plugs hide the nuts and act as feet on the bottom

Freshly printed empty “rack”.
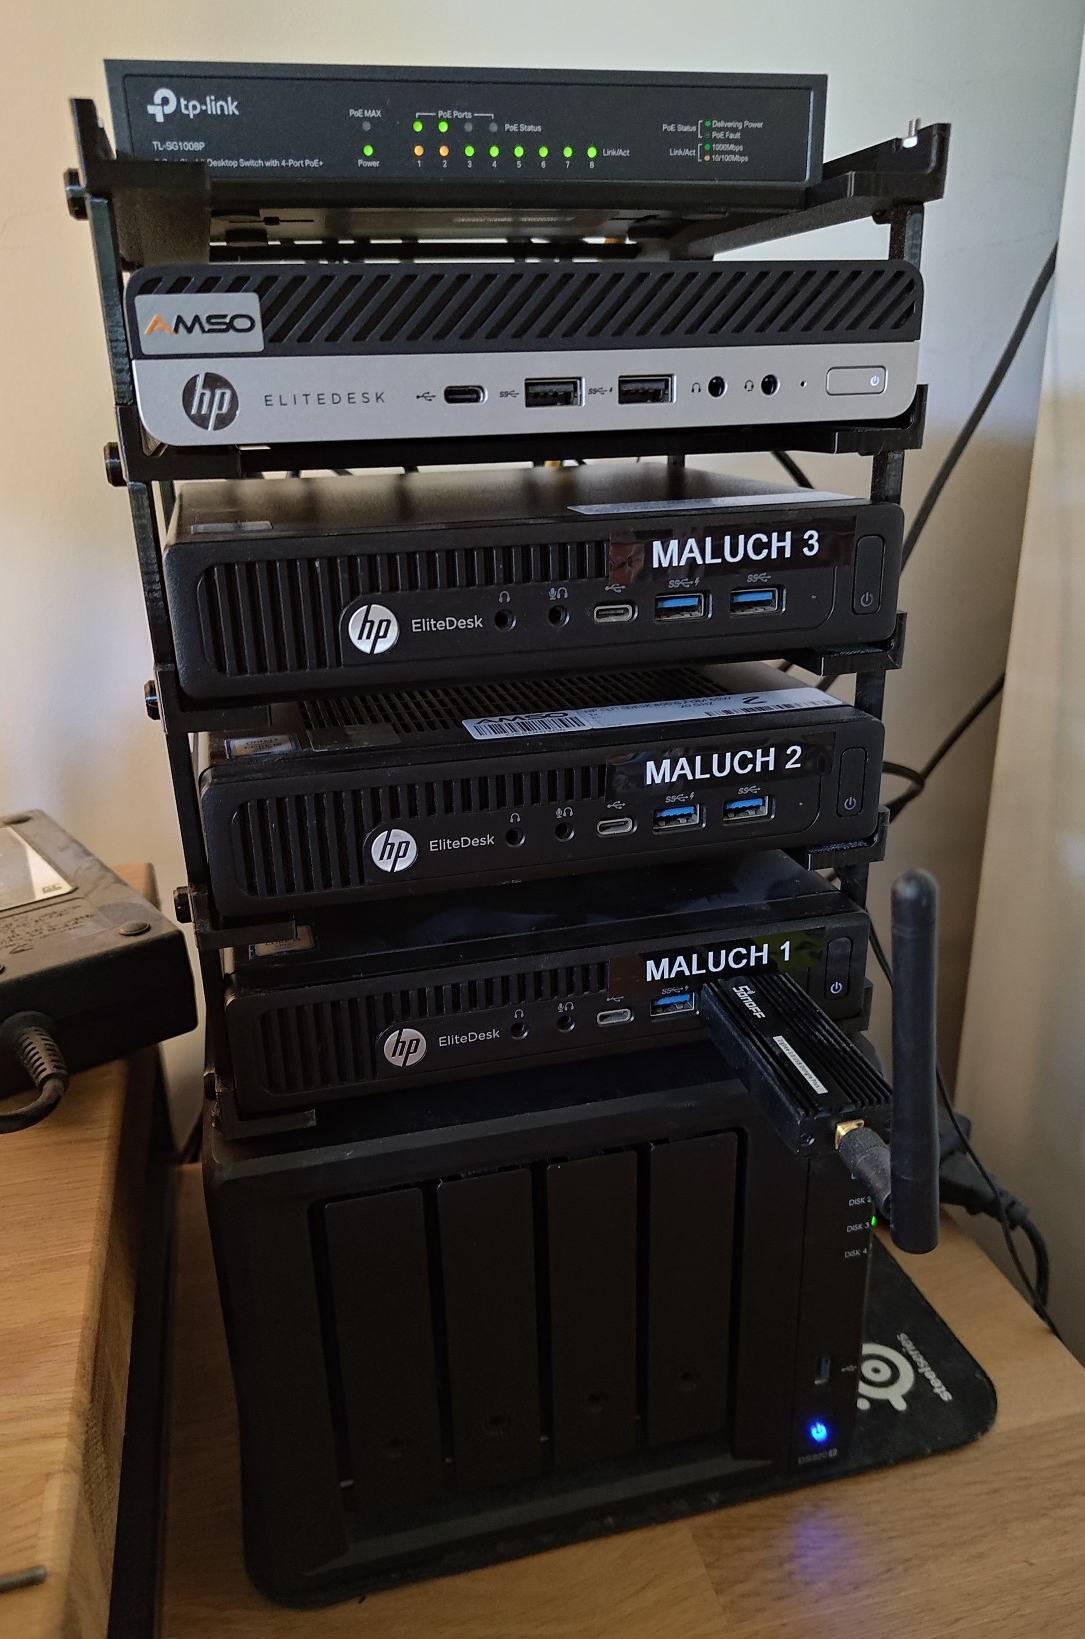
Homelab v1, don’t mind the dust
At this point, I’ve solved the original problem and began to yak-shave.
Power cables
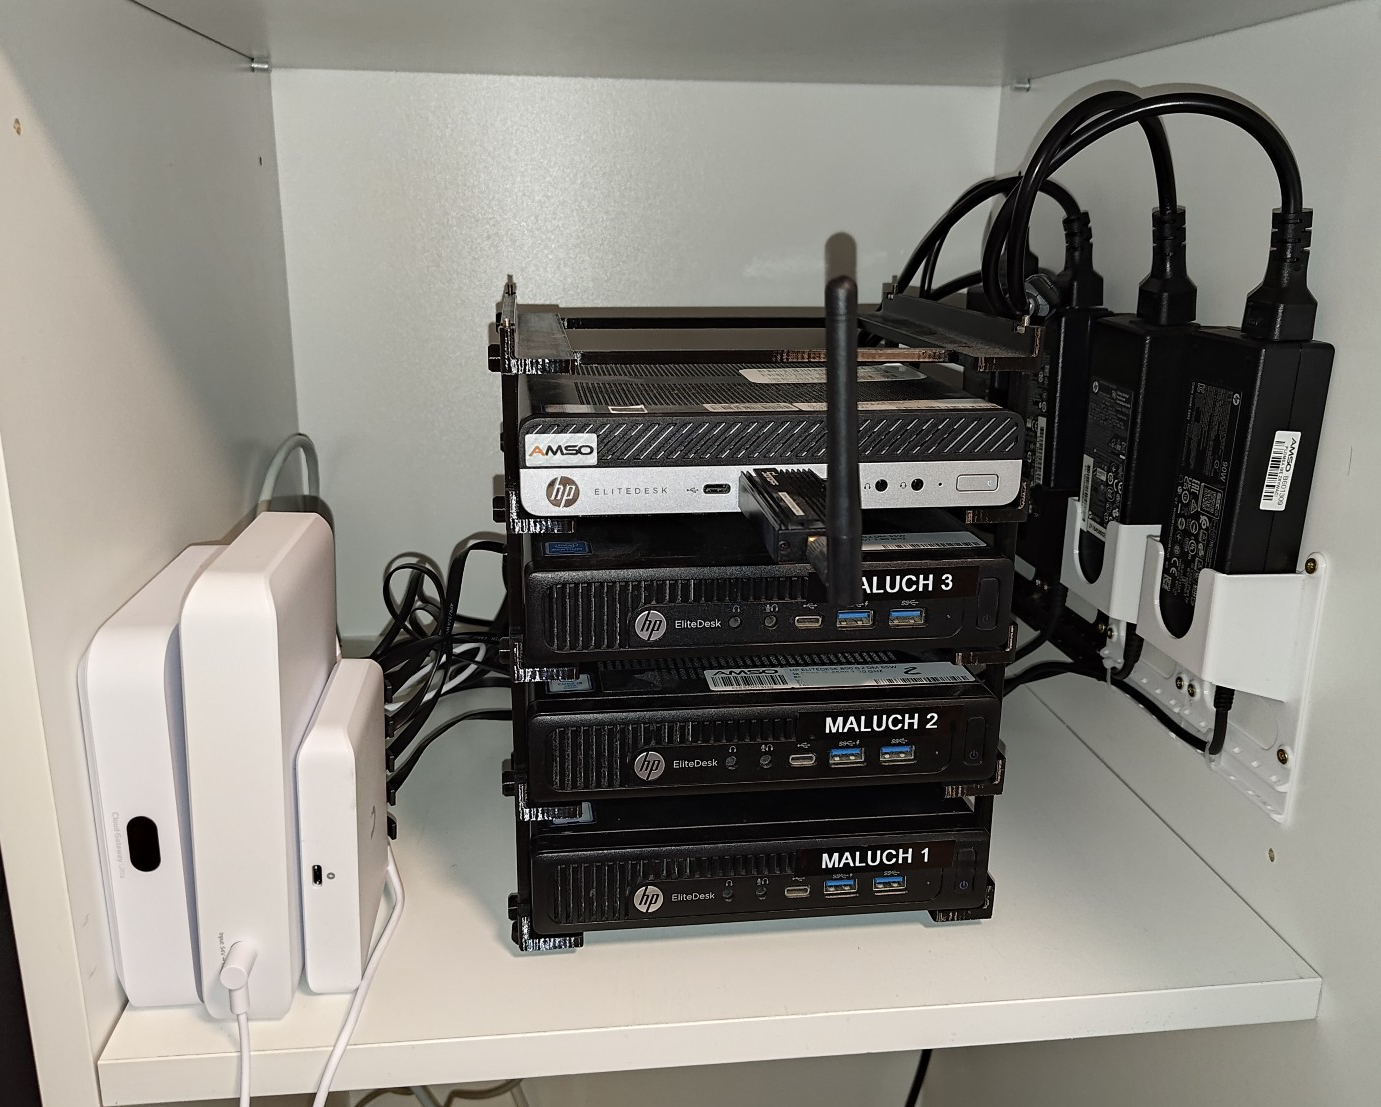
A few weeks later, I decided to move the homelab to a different (tighter) space. It still fits but the (power) cable management start to become a problem or at least an eye sore.
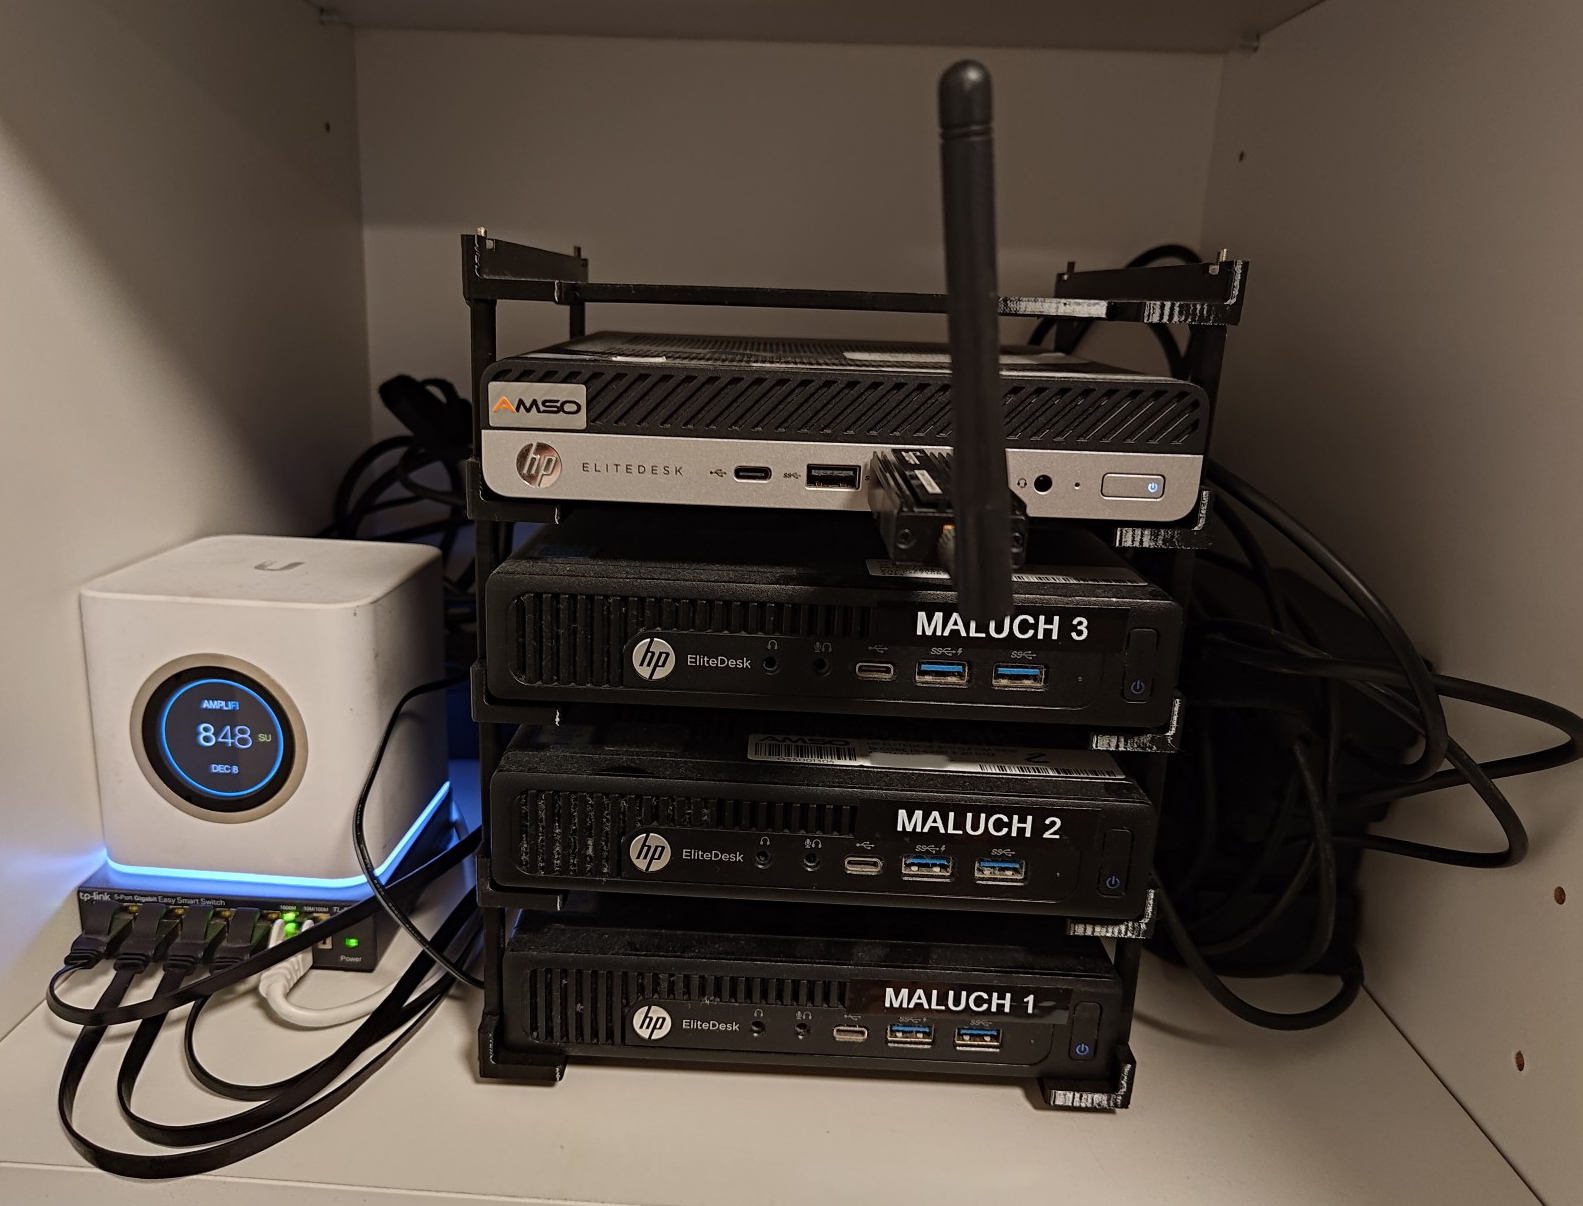
Stack on the shelf. Power cables are well-hidden behind but still messy.
With some more 3d printing, I managed to move the power bricks out of the way.
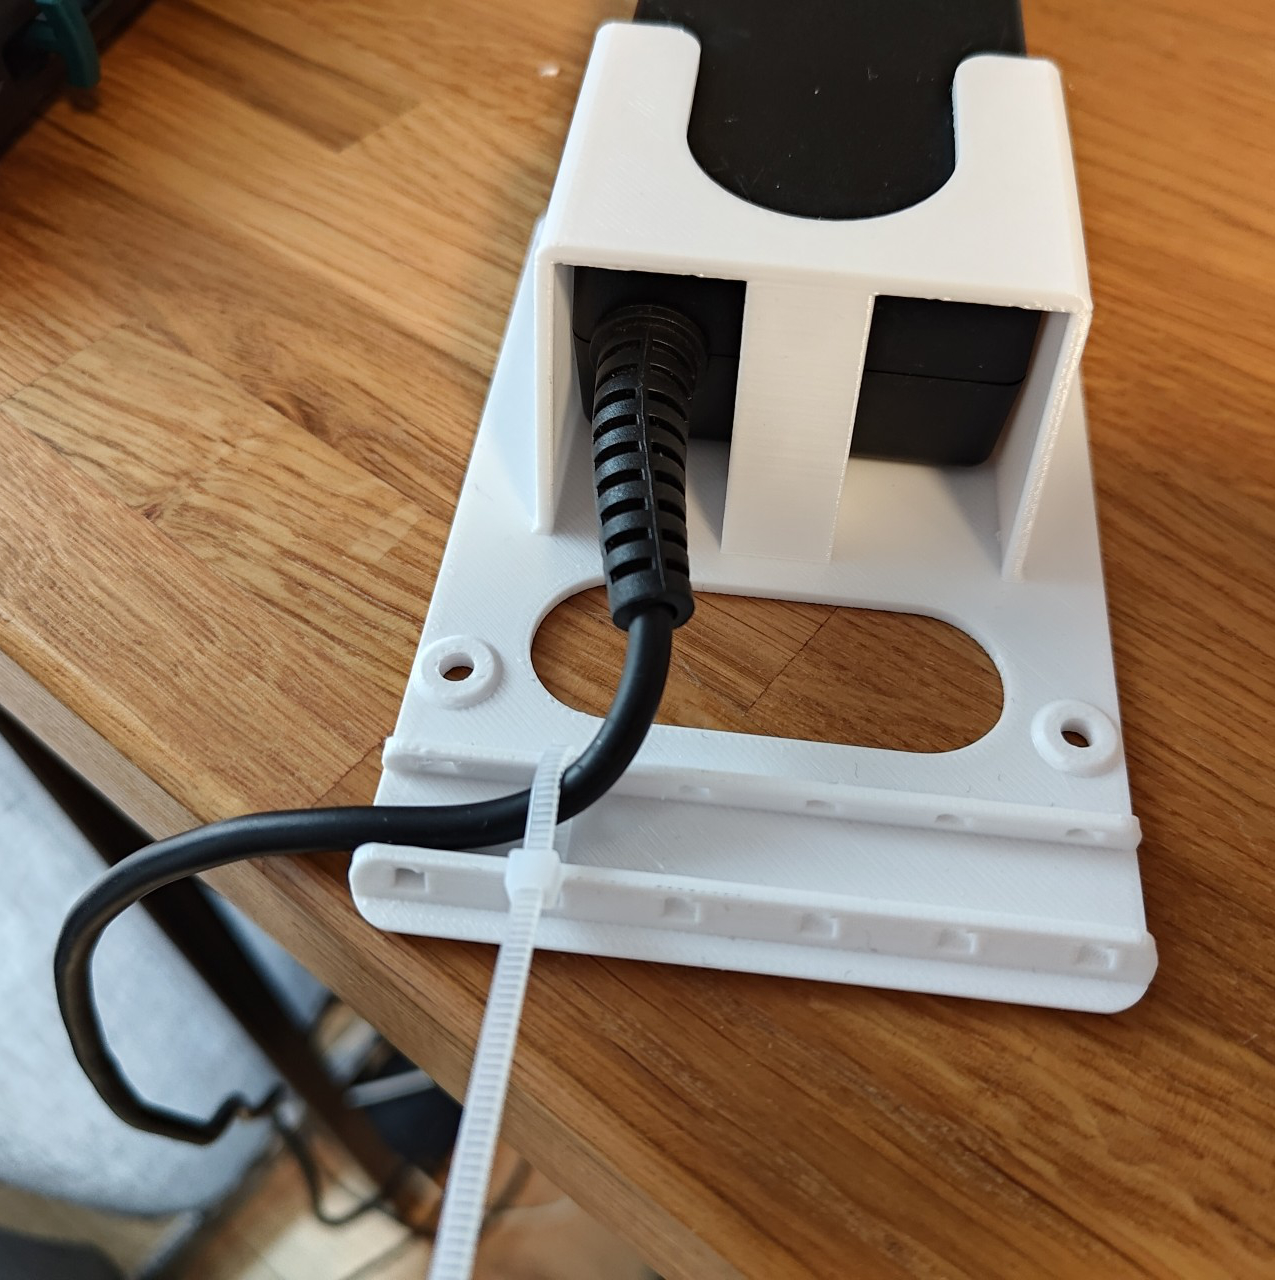
Zip tie to hold the cable in place. In hindsight: completely unnecessary.
…and I got rid of most of the cables by splicing together this abomination.

Power cable ready.
Final result
My homelab in its full budget-conscious glory
Along the way, I replaced the networking gear. Looking at it now, it could also use a rack or something…